How to Set Up a Skool Community (Step-by-Step Guide for Beginners)
Learn how to launch your Skool community, host courses, increase engagement, and monetize with subscriptions in this step-by-step guide.
- 01.Why Paid Communities Are Growing Fast
- 02.Why Use Skool
- 03.Step 1 – Create Your Account
- 04.Step 2 – Configure Your Community
- 05.Step 3 – Set Your Pricing
- 06.Step 4 – Build Your First Course
If you want to build recurring income online, one of the most effective models is a paid community.
Instead of one-time sales, you generate monthly revenue while building a loyal audience that stays — because you own the relationship.
In this guide, I'll show you exactly how to set up your Skool community from scratch, step by step.
What You'll Learn:
- How to launch your community
- How to host courses and content
- How to increase engagement
- How to monetize with subscriptions
Why Paid Communities Are Growing Fast
More creators are moving away from one-time sales and focusing on recurring revenue.
Benefits:
- Predictable monthly income
- Stronger relationships with your audience
- Higher lifetime value per customer
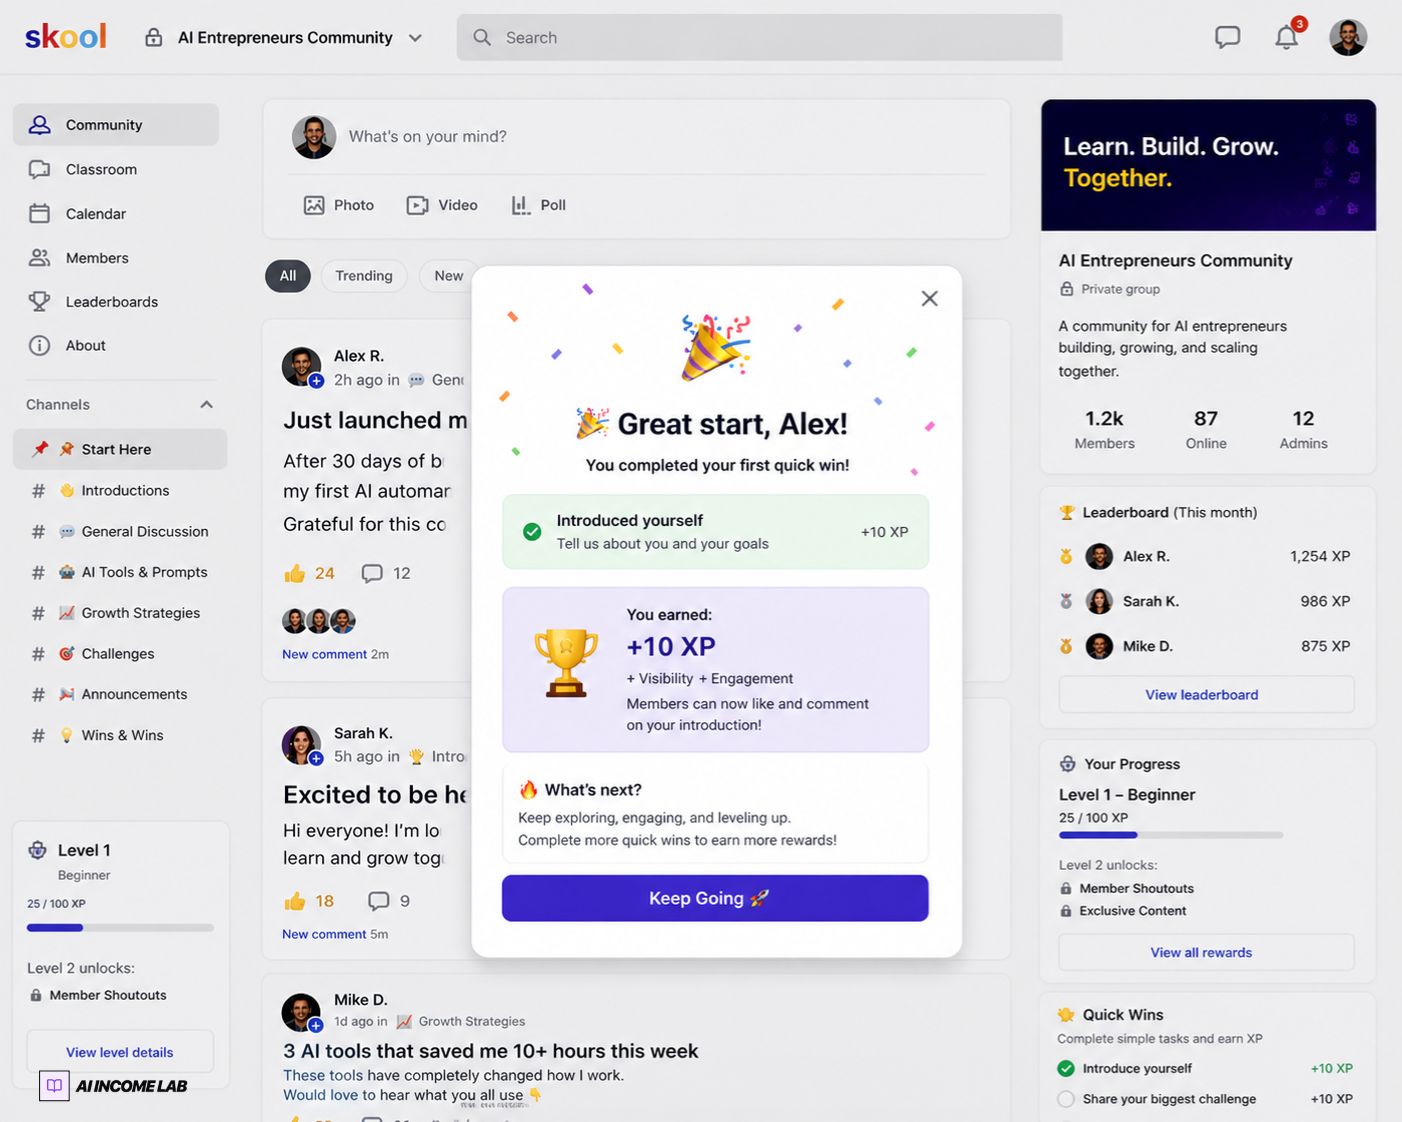
Why Use Skool
Skool combines multiple tools into one platform:
- Community discussions
- Course hosting
- Payment processing
- Gamification
This removes the need to use multiple platforms and simplifies your workflow.
You can start your free trial here: Start Your Free Skool Trial

Step 1 – Create Your Account
Sign up and start your 14-day free trial. Choose a clear name for your community and set your URL.
Step 2 – Configure Your Community
Set up your group by adding a cover image, writing a clear description, and defining who the community is for.
Step 3 – Set Your Pricing
Decide whether your community will be free or paid. If paid, choose a monthly or annual subscription model.
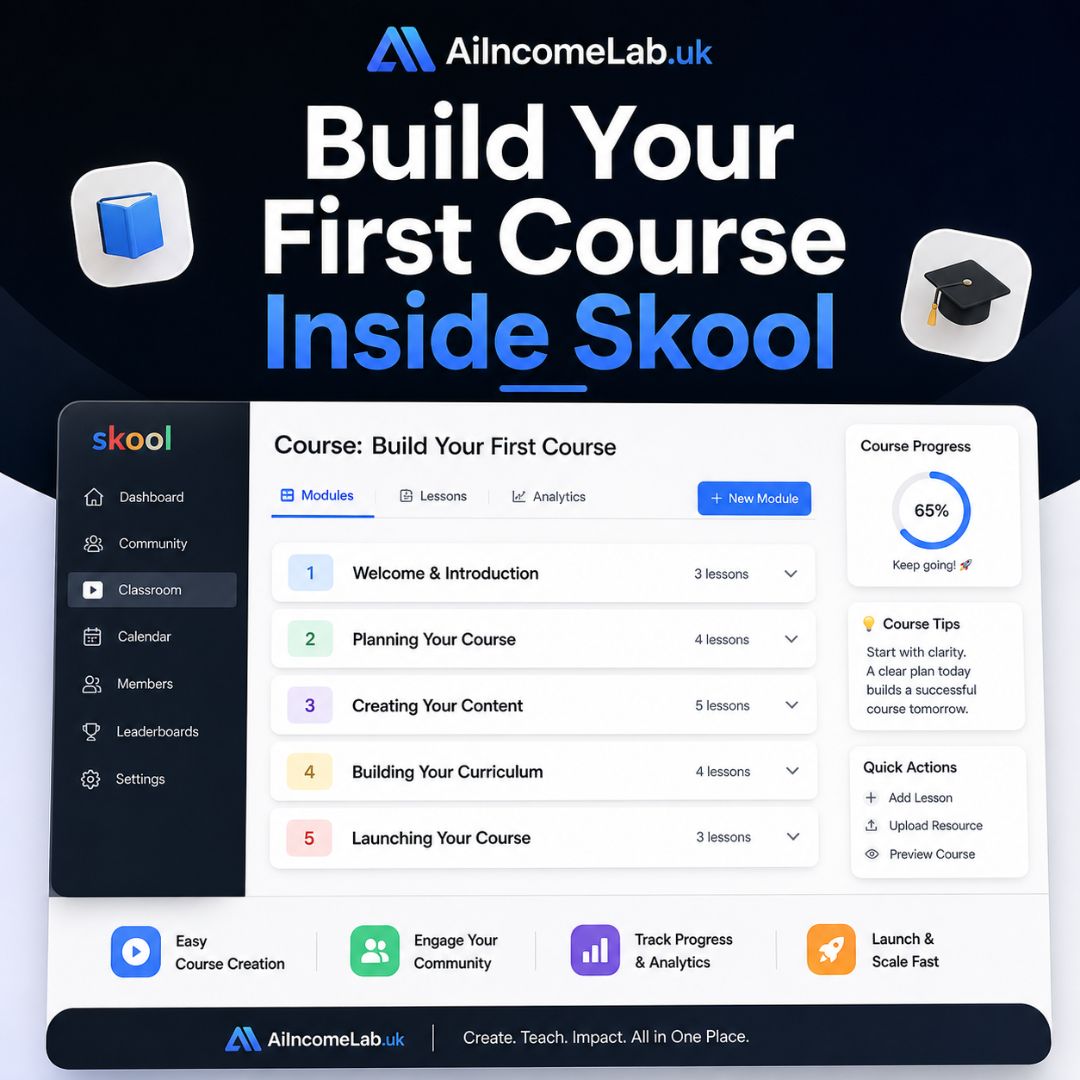
Step 4 – Build Your First Course
Use the classroom feature to organize your content. Add modules and lessons, upload videos, and include supporting resources.
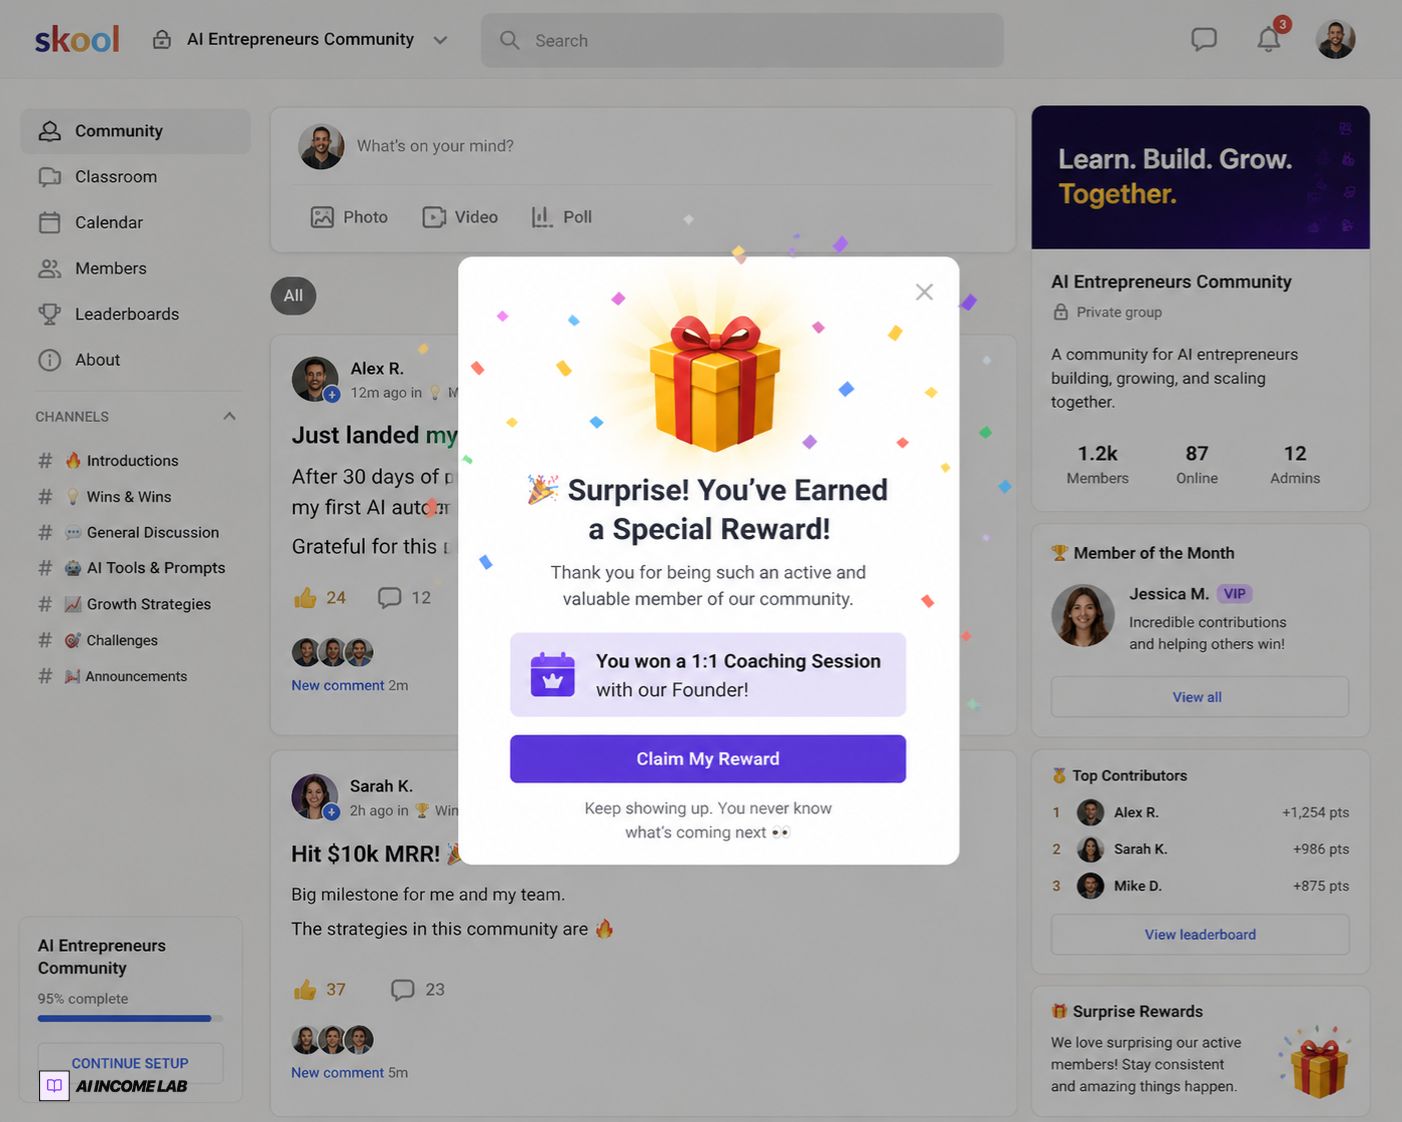
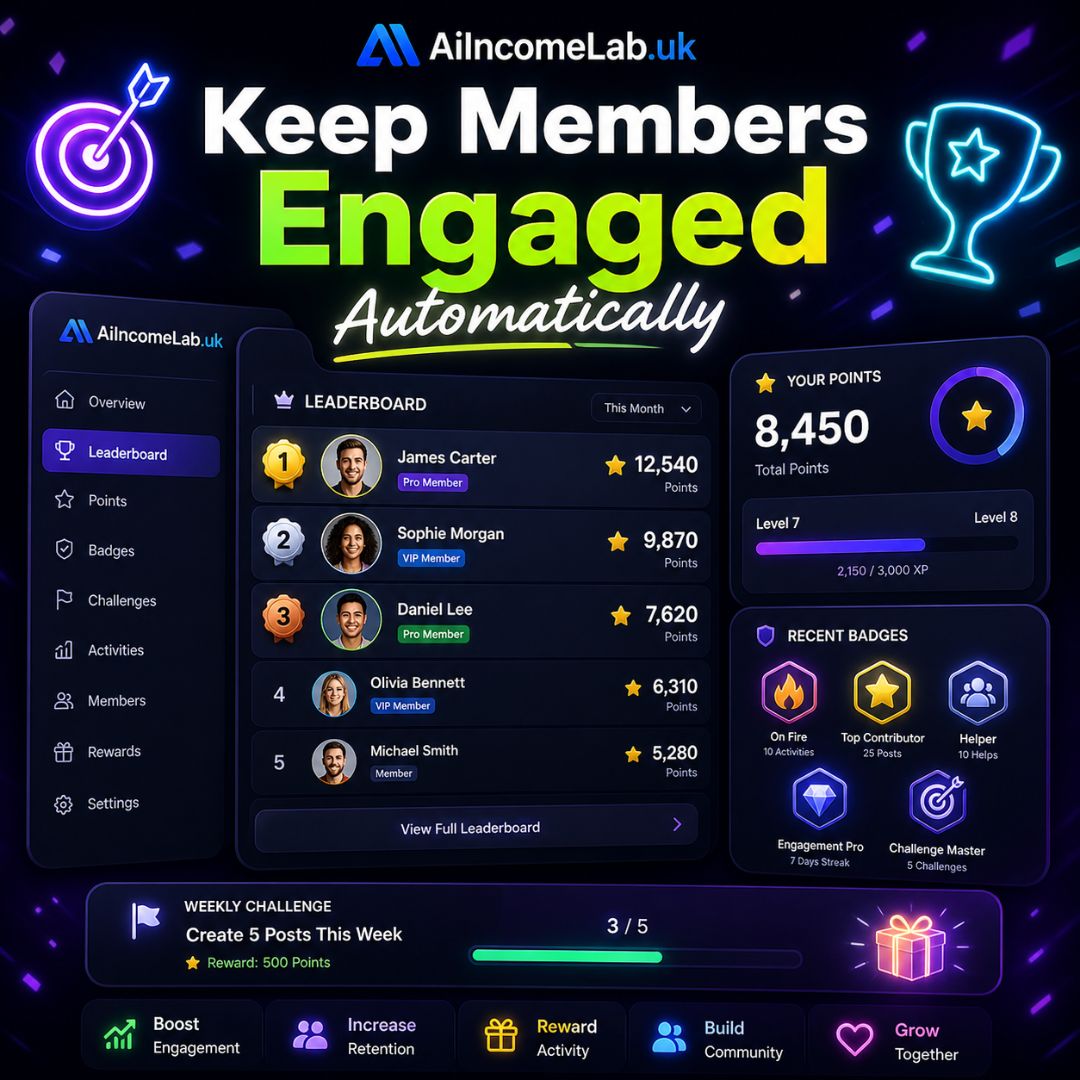
Step 5 – Use Gamification to Boost Engagement
Skool rewards activity through points and levels. This keeps members active and reduces churn.
Step 6 – Schedule Events
Use the calendar to schedule weekly calls, Q&A sessions, or coaching sessions.
Step 7 – Create a Welcome Post
Before launching, write a pinned welcome post that sets the tone for your community.
Income Potential
Even a small paid community can generate meaningful income. Consistency and engagement matter more than size.
Community Monetization Calculator
Estimate your potential Monthly Recurring Revenue (MRR) based on members and pricing.
Monthly (MRR)
£4,900
Yearly Revenue
£58,800
Final Thoughts
Building a paid community is one of the most effective ways to create recurring income online. If you want to get started, you can launch your Skool community here: Start Your Free Skool Trial
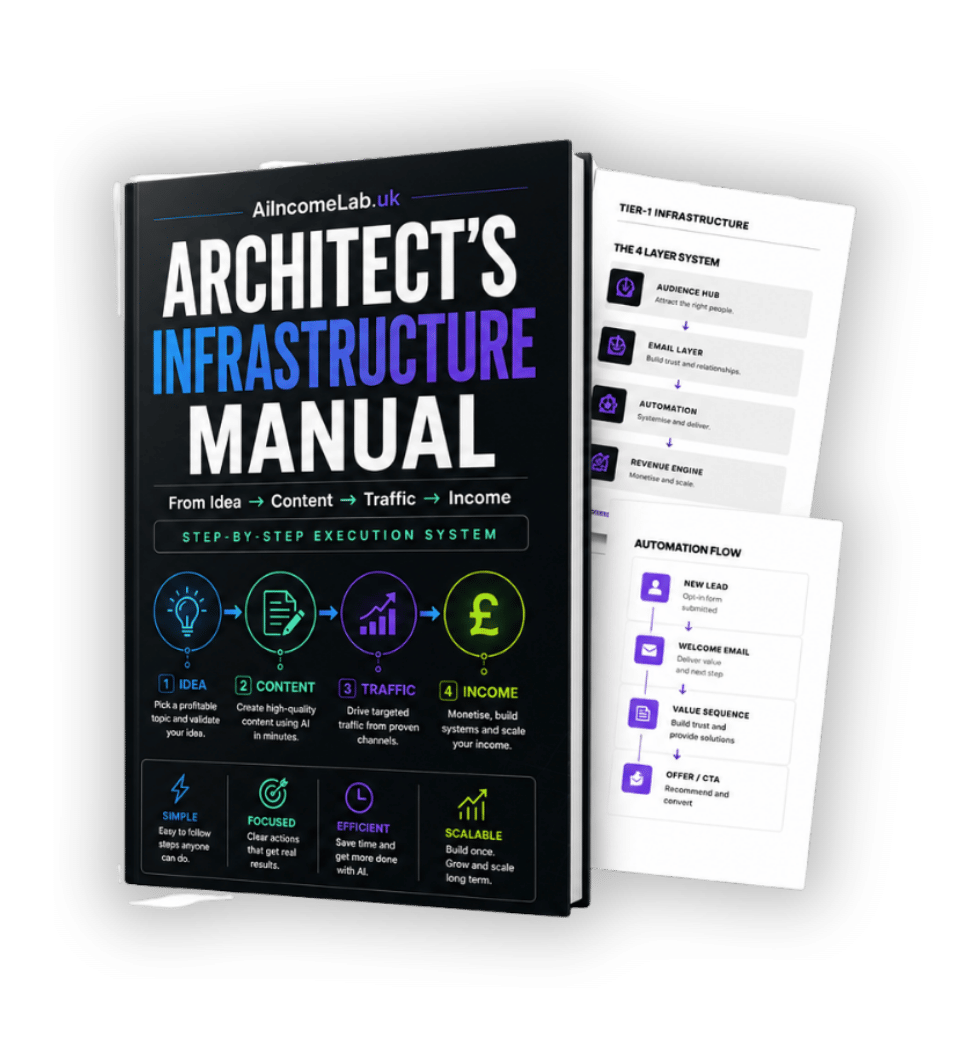
Ready to stop guessing and start executing?
Get the exact Tier-1 infrastructure blueprint used to build scalable audience and revenue systems.
Related Articles
The Creator Infrastructure Blueprint: How to Build an Online Business You Actually Own
Most creators fail because their systems are disconnected. Discover how to build a connected online business system that you actually own.
Read Article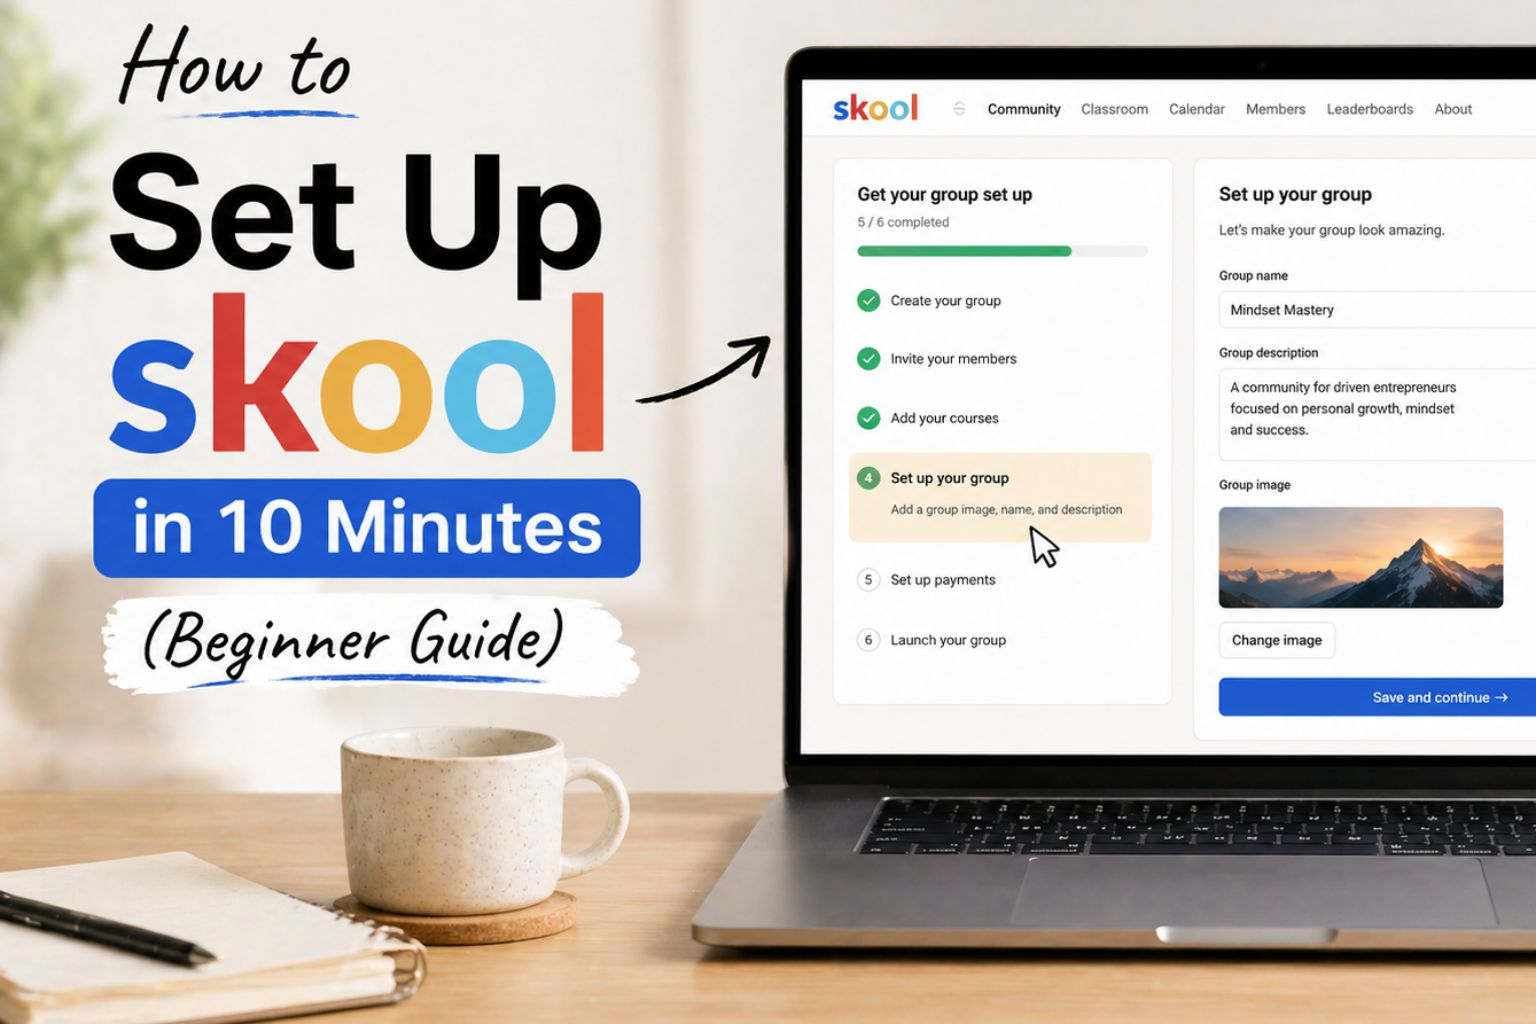
How to Set Up MailerLite (The Complete Beginner Infrastructure Guide)
Learn how to build your first owned audience asset. This step-by-step guide shows you how to set up MailerLite to capture leads and automate your income.
Read Article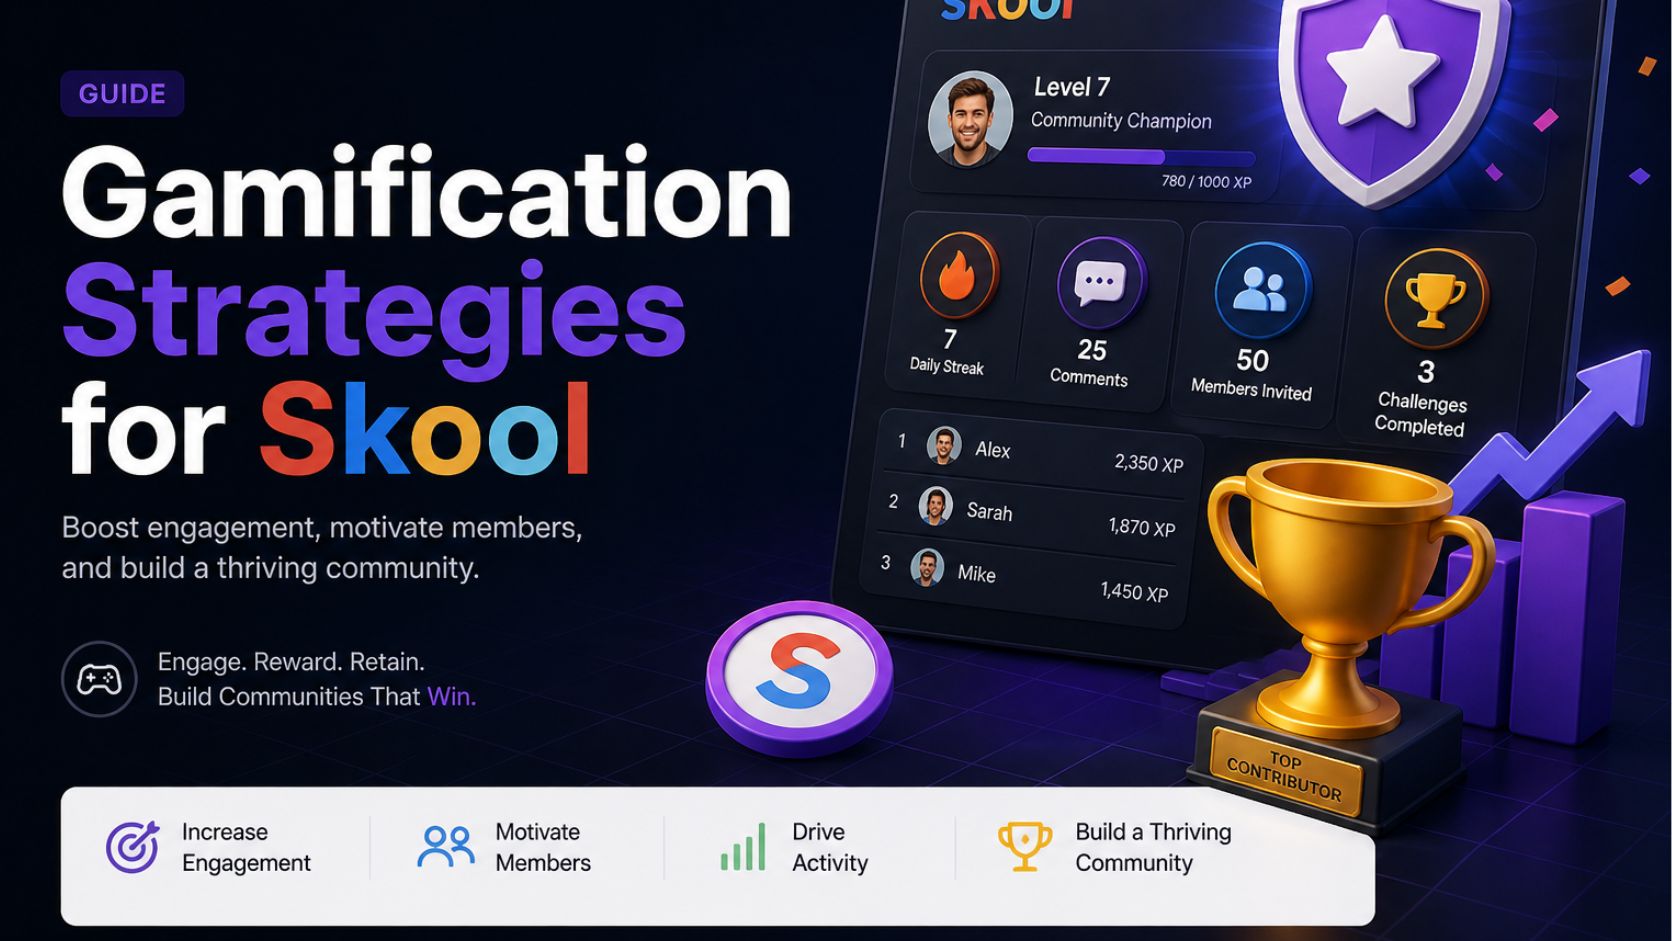
Turn Your Community Into a High-Engagement Machine (With Gamification)
Building a community is only half the battle. The real challenge is keeping members engaged. Learn 5 proven gamification strategies you can implement immediately.
Read Article
Alex Chen
AI researcher and digital marketer with 10 years of experience.
Discussion (0)
Ready to build your AI income system properly?
Stop guessing. Follow the exact step-by-step infrastructure blueprint used by successful creators to build systems that work while they sleep.